Platform
Developers
Resources
Documentation
Walkthrough Guides
SDKs and APIs
Integrations
A/B Testing Calculator
How Statsig Works
Blog
Support
Customer Stories
Events
Build vs Buy
Contact Sales

Feature Flags Liberated
Gating features is a core part of the development process. And with Statsig, it's free.
How AI Companies Use Statsig
The best AI companies use Statsig to accelerate growth. Learn how you can do the same.
What is Product Observability?
Product observability means being able to monitor, control, and gain insight into all of your features.Documentation
Walkthrough Guides
SDKs and APIs
Integrations
A/B Testing Calculator
How Statsig Works
Blog
Support
Customer Stories
Events
Build vs Buy
Contact Sales
Experiments with Generative AI
We built a generative AI app in reactJS using OpenAI’s API and Statsig. Here’s what we learned:
Experimentation Platforms
The decision to build versus buy an experimentation and feature flagging platform is not an easy one.
CUPED Explained
CUPED is an implementation that uses pre-experiment data to explain the variance in the result data.

Using Feature Flags/Gates in your app is simple and straightforward. This article will show you a step-by-step process of creating a simple Node.js app that responds to feature gate changes in almost-real-time.
This article assumes you have npm installed on your dev environment. More detailed documentation is available here.
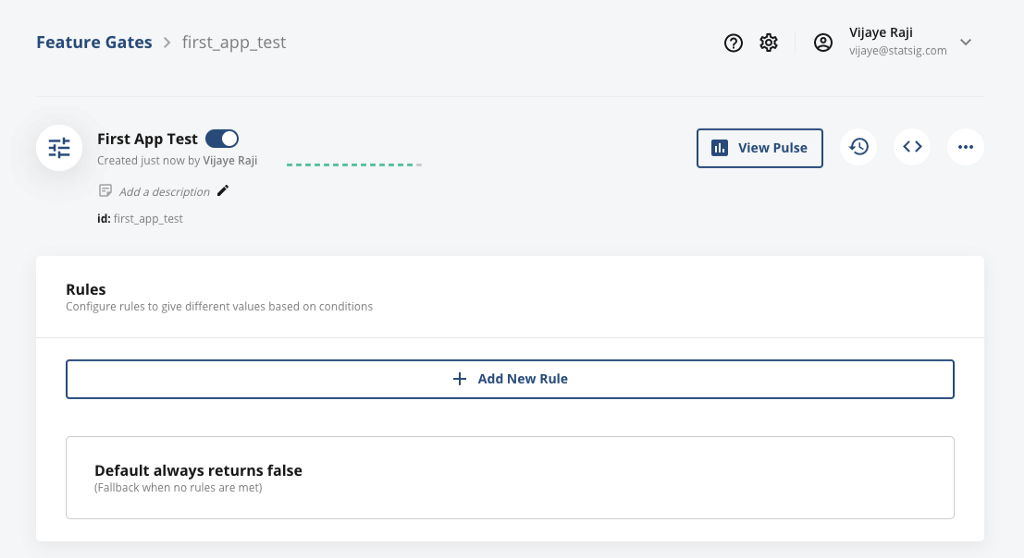
If you don’t already have an account, create one for free at https://www.statsig.com/ and create a new Feature Gate named “First App Test”
The first step to creating the Node app in your command line terminal is:
$ mkdir statsigNodeApp && cd statsigNodeApp
$ npm init --yes
This will create a package.json file in the statsigNodeApp directory.
Next, let’s install statsig-node SDK.
$ npm install statsig-node
Now, we’re all set to write our main app’s logic. Here’s the code that checks the gate we just created every second and writes out whether it passes or not. Copy and paste this into a file named index.js.
https://medium.com/media/153cc5e35683db3d164c4e419232f32b/href
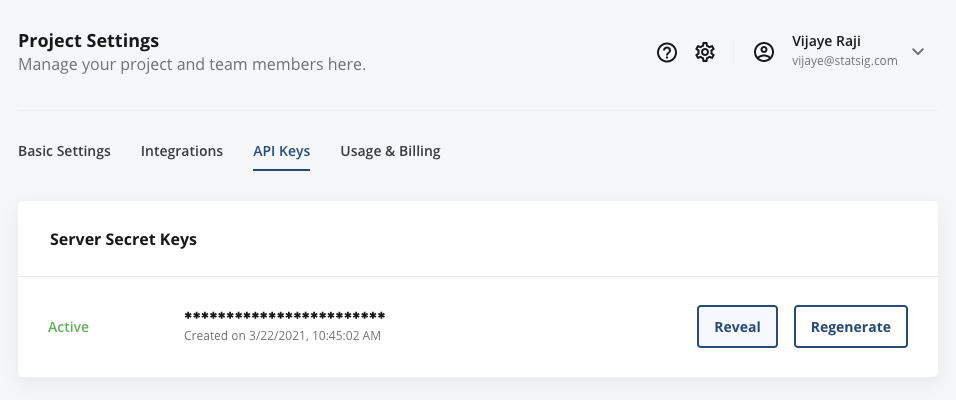
One last thing is you need to replace the ‘secret-API-KEY’ with your own API key, which you can find in your project’s settings:
With that replaced, you are ready to run this app by issuing this command:
$ node index.js
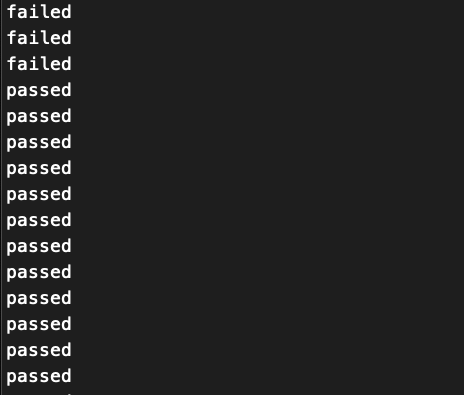
You will see something like this in the output:
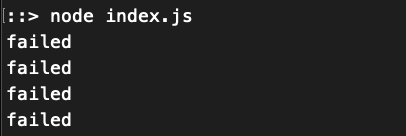
This means that the flag is evaluating to ‘false’ all the time. Let’s go ahead and create a new rule that turns on this feature for everyone.
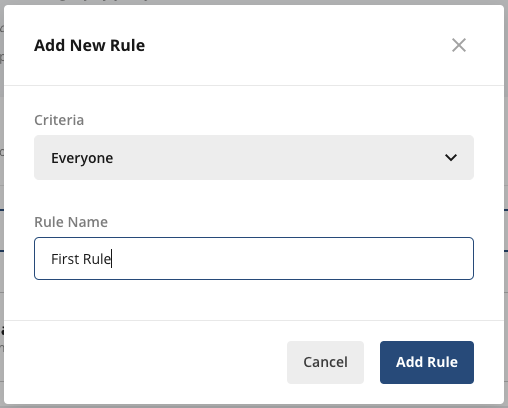
And let’s make sure to hit that ‘Save Changes’ button.

Now, if we had kept that Node App running, you’ll notice that it has started saying ‘passed’ automatically, since now this feature flag is turned on to everyone.
You can now try turning off this feature in the console.

Which will immediately make the feature fail the check and the app will go from ‘passed’ to ‘failed’ to reflect the change.

And that’s it!
Hope this was helpful in getting you started and on your way to creating more complex features! As always we’re here to help out. You can join our Slack community here: https://statsig.com/community.
Build fast?


Recent Posts
How to track your features' retention
Explore flexible retention metrics beyond simple return rates. Learn to define meaningful actions and timeframes, manage seasonality, and use Statsig for detailed insights.
How e-commerce companies grow with Statsig
The e-commerce buyers' journey can be segmented into four steps: Discovery, Research, Checkout, and Retention. Here's how to approach each of them.
How to optimize the digital experience with Session Replay tools
Learn how session replay tools capture user interactions, identify pain points, and optimize user experience.
Startup programs for early stage companies (living document)
We’re committed to supporting startup growth and innovation, which is why we've curated a list of top startup programs that offer invaluable resources.
Introducing stratified sampling
Discover the power of stratified sampling on Statsig. Avoid pre-existing differences in your experiments, reduce false positives, and achieve consistent, trustworthy results.
Behind the scenes: Statsig's backend performance
Have you ever wondered how Statsig is able to support +200 billion events every day? Learn what's under the hood.