Products
Solutions
Resources
Add Advanced Real-Time Analytics to Your Next.js App
Next.js when paired with Statsig transforms into a powerful tool that enables you to leverage detailed analytics and data-driven decisions from the very start.
Discover how Statsig can seamlessly integrate with your Next.js project, providing real-time analytics, user behavior tracking, and performance metrics at your fingertips.
Enhance your Next.js application with advanced real-time analytics in three easy steps
1. Install the Statsig SDK
Begin by integrating Statsig into your Next.js project. This process is straightforward and begins with adding the SDK to your project using npm or Yarn. Here’s how to do it:
- Open your terminal and navigate to your project directory.
- Run one of the following commands based on your package manager:
npm install statsig-js
or
yarn add statsig-js
This command installs the Statsig JavaScript SDK, adding powerful analytics capabilities directly into your Next.js app.
2. Initialize the SDK
To make the most out of Statsig, you’ll need to initialize the SDK within your Next.js application. This step is crucial as it sets up the SDK to capture and analyze user data across your app. Implement it by:
- Importing Statsig at the top of your pages/_app.js, which is the core file that loads with your application:
import Statsig from ‘statsig-js’;
- Place the initialization code inside the pages/_app.js file. Use your unique client SDK key, which you can obtain from your Statsig dashboard:
Statsig.initialize( ‘your-client-sdk-key’, { userID: ‘user_unique_identifier’, /* ensure this is a unique identifier for each user you can add additional user properties here as needed for deeper analysis */ } );
Initializing the SDK in this manner ensures that user activity is tracked throughout the user’s journey in your application, enabling detailed analytics and segmentation.
3. Log Custom Events
With Statsig integrated and initialized, you can start logging custom events to track specific interactions within your app. These events can range from a user logging in to clicking a purchase button. Custom events provide deep insights into how users interact with your app and what drives engagement and conversion.
- Use the logEvent method to capture any significant user action:
Statsig.logEvent( ‘button_click’, ‘purchase_button’, { item_id: ‘123’, price: ‘19.99’, } );
Logging such events allows you to gather data about how users interact with specific elements on your site, which is invaluable for optimizing user flows and improving overall user experience.
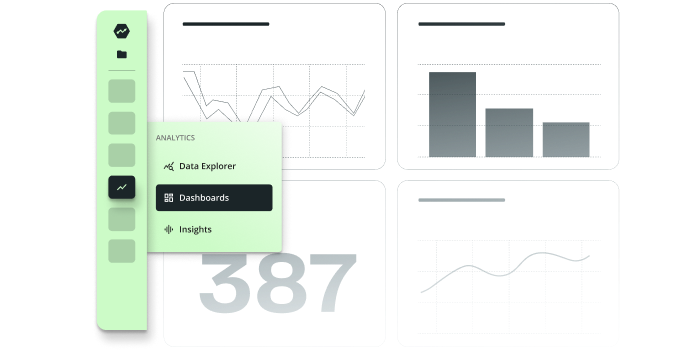
4. Utilize the Statsig dashboard
Once you’ve set up the Statsig SDK and started logging events, you can utilize the Statsig dashboard to gain real-time insights into your application. The dashboard allows you to:
- Monitor and analyze user behavior, engagement metrics, and conversion rates in real time.
- Customize your analytics views to focus on the metrics that matter most to your business.
- Segment users based on behavior, demographics, or custom properties to better understand different user groups.
- Set up A/B tests and feature flags directly from the dashboard to experiment with new features or changes without needing to deploy new code.