Products
Solutions
Resources

This blog will cover technical details for integrating Feature Flags into your Next.JS App Router project.
We'll cover:
Starting a new Next.JS App Router project, if you don't already have one (skip this if you do)
Integrating Statsig, with the React SDK, into your Next.JS project, by wrapping your components in a StatsigProvider (Spoiler - its only ~5 lines of code)
Deploying this App with Vercel
In this guide, we'll cover Next.JS App Router. If you're using Page Router, we'd recommend you look to this guide.
Why Next.JS?
Next.JS has become perhaps the gold standard web framework in recent years, for its focus on performance (for example, server-side rendering support), developer friendliness, and broad support/community.
At Statsig, we use Next.JS for our customer console, and have partnered with Vercel to create integrations with other Next.JS features like Edge Router, and Vercel Toolbar. We also take advantage of the breadth of features from Next itself and its community, like Core Web Vitals (out-of-the-box) and NextAuth (Third-party) to manage performance and auth.
Why Statsig?
Statsig provides feature flags comparable with LaunchDarkly's, with the option to use unlimited free feature flags. It has solid support for Next.JS with its React SDK. Vercel uses Statsig in their own products for experimentation.
Create a NextJS project
Set up a Statsig project
Visit the Statsig Console to sign up for an account - and click on "Launch a Feature" when prompted. You might choose to skip the "Set Up With the Statsig SDK" screen for now and click "Next", we'll share explicit instructions for setting up in Next below.
Integrate Statsig in your code:
Install Statsig
In your code, you'll now want to install Statsig:
Next, you'll want to pull your Statsig Client API Key into your Next.JS project. Create a new .env.local variable, prefacing the key with NEXT_PUBLIC_ so that Next.JS bundles it properly.
You can find this key on the "Set Up With the Statsig SDK" page while you're onboarding (Choose the React SDK to see it), or by clicking the Settings icon in the top-right hand side of your Statsig project, then clicking "APIs and Keys".
Add Statsig to our code:
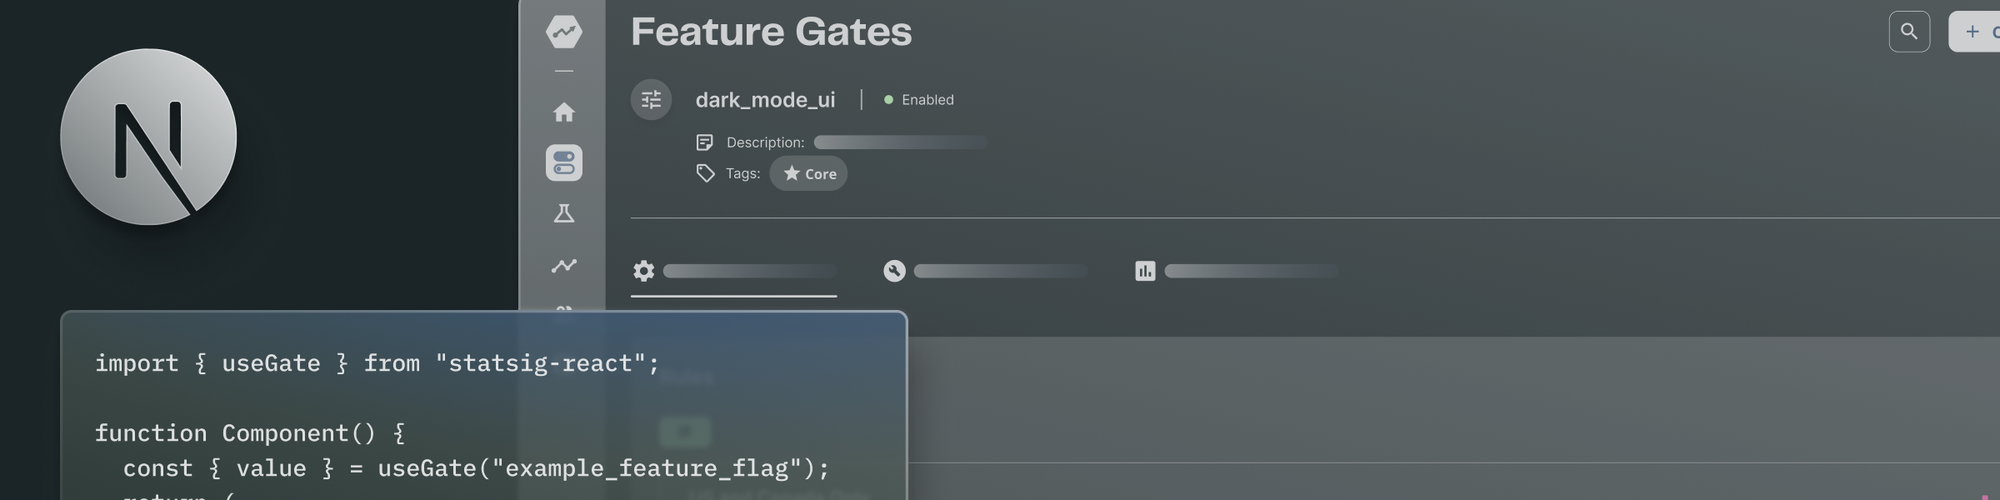
We're finally ready to add a Statsig gate check to our code. We'll call the built-in StatsigProvider, and the gate that we created in the onboarding flow. Replace page.tsx with this code:
Now, you should be able to vary the rules of your gate to either pass or fail this gate. Try setting your gate to pass 100% or fail 100%, and see what happens. You should see:


You can see the final version of this code in our Next.JS Server Side Github Repo.
What about SSR (server-side rendering)?
Depending on your needs, you might opt to ditch the "use client" directive at the top of your file - if you do, Next.JS will treat the component as Server-Rendered by default. Developers choose SSR primarily for performance, with a couple key benefits:
Decreased client load: devices with limited processing power will might struggle with complex client-rendered content.
Better perceived performance by users: SSR reduces time-to-first-byte, which might improve your users' perception of application responsiveness
SEO benefits: The reduced load and speed improvements together can result in a bump in SEO ranking.
To use SSR, we'll have to make some changes to our approach. The statsig-react package is optimized for client-rendered content, so we'll opt instead for the statsig-node SDK, which is optimized for Node.JS on the server-side.
This means we'll have to implement things slightly differently, but we also get the benefits of using a server-side SDK, included limited latency to fetch Feature Flag & Experiment evaluations.
You can use the same feature flag (if you've created one), but we'll need a separate SDK key. If you've jumped straight to this section, create a feature flag in the onboarding flow or the Statsig console, and grab your Server Secret key from the "Set Up With the Statsig SDK" page while onboarding, or from the settings page on the console.
Set up (if you haven't) Statsig and Next.JS
If you've jumped to the SSR section in the guide and you don't have a Next.JS project set up yet, run the couple commands needed to set one up now:
Integrate Statsig in your project:
First, install the Statsig server SDK for Node.js. This is the same SDK you'd use with Express or a similar server-based Node environment.
Next, add your Server Secret key and Client key to .env.locals:
NEXT_PUBLIC_STATSIG_CLIENT_KEY=your_client_key
STATSIG_SERVER_SECRET=your_server_key
Notice this time, we didn't include NEXT_PUBLIC_ at the start of this key. This makes this key inaccessible in client-side code, which is important for Server Secret keys, they shouldn't be made public.
Using Next.JS and Statsig with SSR requires that you use both a client and server key. The Server key is used to fetch values on the server-side, making SSR possible and preventing the "flicker" that can come from client-side rendering with asynchronous flag calls.
We need to add a method to page.tsx to get the Statsig values, which will then be passed as initialization values to the client side:
We add these values to our StatsigSynchronousProvider as InitializeValues, but we still include a Client SDK key for logging exposures. Our client-app.tsx can look like this:
"use client"; // important!  the distinction between what is happening on the client and server is what matters

import {
  StatsigSynchronousProvider, // update the import
  StatsigUser,
  useGate,
} from "statsig-react";

function Content() {
  const { value } = useGate("example_feature_flag");
  return (
    <div style={value ? {background: "#194B7D"} : {}}>
      <div style={{ padding: 16 }}>nextjs_app_bg: {value ? "Passing" : "Failing"}</div>
    </div>
  );
}

export default function ClientApp({
  user,
  values,
}: {
  user: StatsigUser;
  values: Record<string, unknown>;
}): JSX.Element {

  return (
    <StatsigSynchronousProvider
      sdkKey={process.env.NEXT_PUBLIC_STATSIG_CLIENT_KEY!}
      initializeValues={values}
      user={user}
    >
      <Content />
    <);
}

</div>
And, like in our server-side rendering example, you should now be able to see the gate change in your local environment:
And thats it! You've successfully implemented cutting-edge, zero-latency feature flags in your Next.JS app.
Deploying your app:
With Next.JS, deploying to Vercel is remarkably easy, all it takes is commands in the terminal:
Try this out, but expect to see an error on your first build. The last thing you have to do is add the couple environment variables we have in your Vercel project. Head to the Vercel dashboard, then click on Settings > Environment Variables and add our two keys.
You're done! You should now be able to see your code on the public internet, and edit your feature flag rules without redeploying to see the differences.
💻 Take a look at my deployment here.
🧑💻 And check out the code for the Next.JS SSR project here.
Get a free account